Here is another project in honor of the Calgary Stampede. Whenever we go down to the grounds my kids always want to visit the Indian Village. They love visiting the traditional teepees and trying out the bannock.
Here is our take on the Indian Village at home.
MATERIALS REQUIRED:
templates ( large teepee, small teepee )
lightweight cardboard or cardstock
ruler or bone folder
scissors
glue
paint
markers
glue
twig
mod podge (optional)

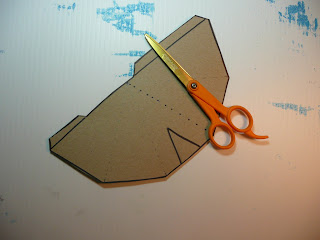
Print out the templates. I made up two sizes for you. Trace onto some lightweight cardboard like from a cereal box.
You want to mark your fold lines. Best way to do this is while the template is been traced mark where the fold lines meet at the top as well as the where they start at the bottom. Remove template and then using a ruler dot in the fold lines.
Now with your fingers fold on the fold lines and then using a ruler or bone folder smooth then down for a good fold.
Paint your teepee. I'm using acrylic craft paint. If you want to skip this step you can just use colored cardstock.
I painted the inside grey but this is optional.
I also added a wash of watered down brown paint for an antiqued look.
Take your twig and break off some 2 inch pieces. Using glue...glue these down at the top on 2 different sections. Let dry.
Put some glue on the small tab and fold up your teepee...the small tab will attach to the larger tab and both of them should be folded to the inside.
That's it. Why not make a teepee village this summer!
We are packing up for a 2 week camping trip. We are borrowing my brother's trailer and hitting the road...this will be a new experience for the kids. I'm still planning to post along the way so stayed tuned for some "camping crafts" in the upcoming weeks.
Take care.
gail


No comments:
Post a Comment