Tattoo
Showing posts with label mixed media. Show all posts

Poppy Mixed Media

Well this is the Remembrance Day project I have come up with for this year "Mixed Media Poppies". 
Tape off your watercolor or white sketch paper for that nice finished edge and then paint in your background color with disc tempera. 
While the paint is still wet cover with a layer of plastic wrap and smoosh it slightly.  Leave in place until dry. 
While your background is drying work on your poppy papers.  You want a few types.  In this one I'm using thicker liquid tempera and patting it in with the brush leaving some nice textured brush marks.
For this one I'm using the liquid tempera like glue and squishing some red tissue paper into the wet paint.  Cover with a top coat of paint as well.  It is similar to the technique I used in this post.
In this one I'm covering the paper with paint and then placing bubble wrap on top while wet.  Leave on til dry.
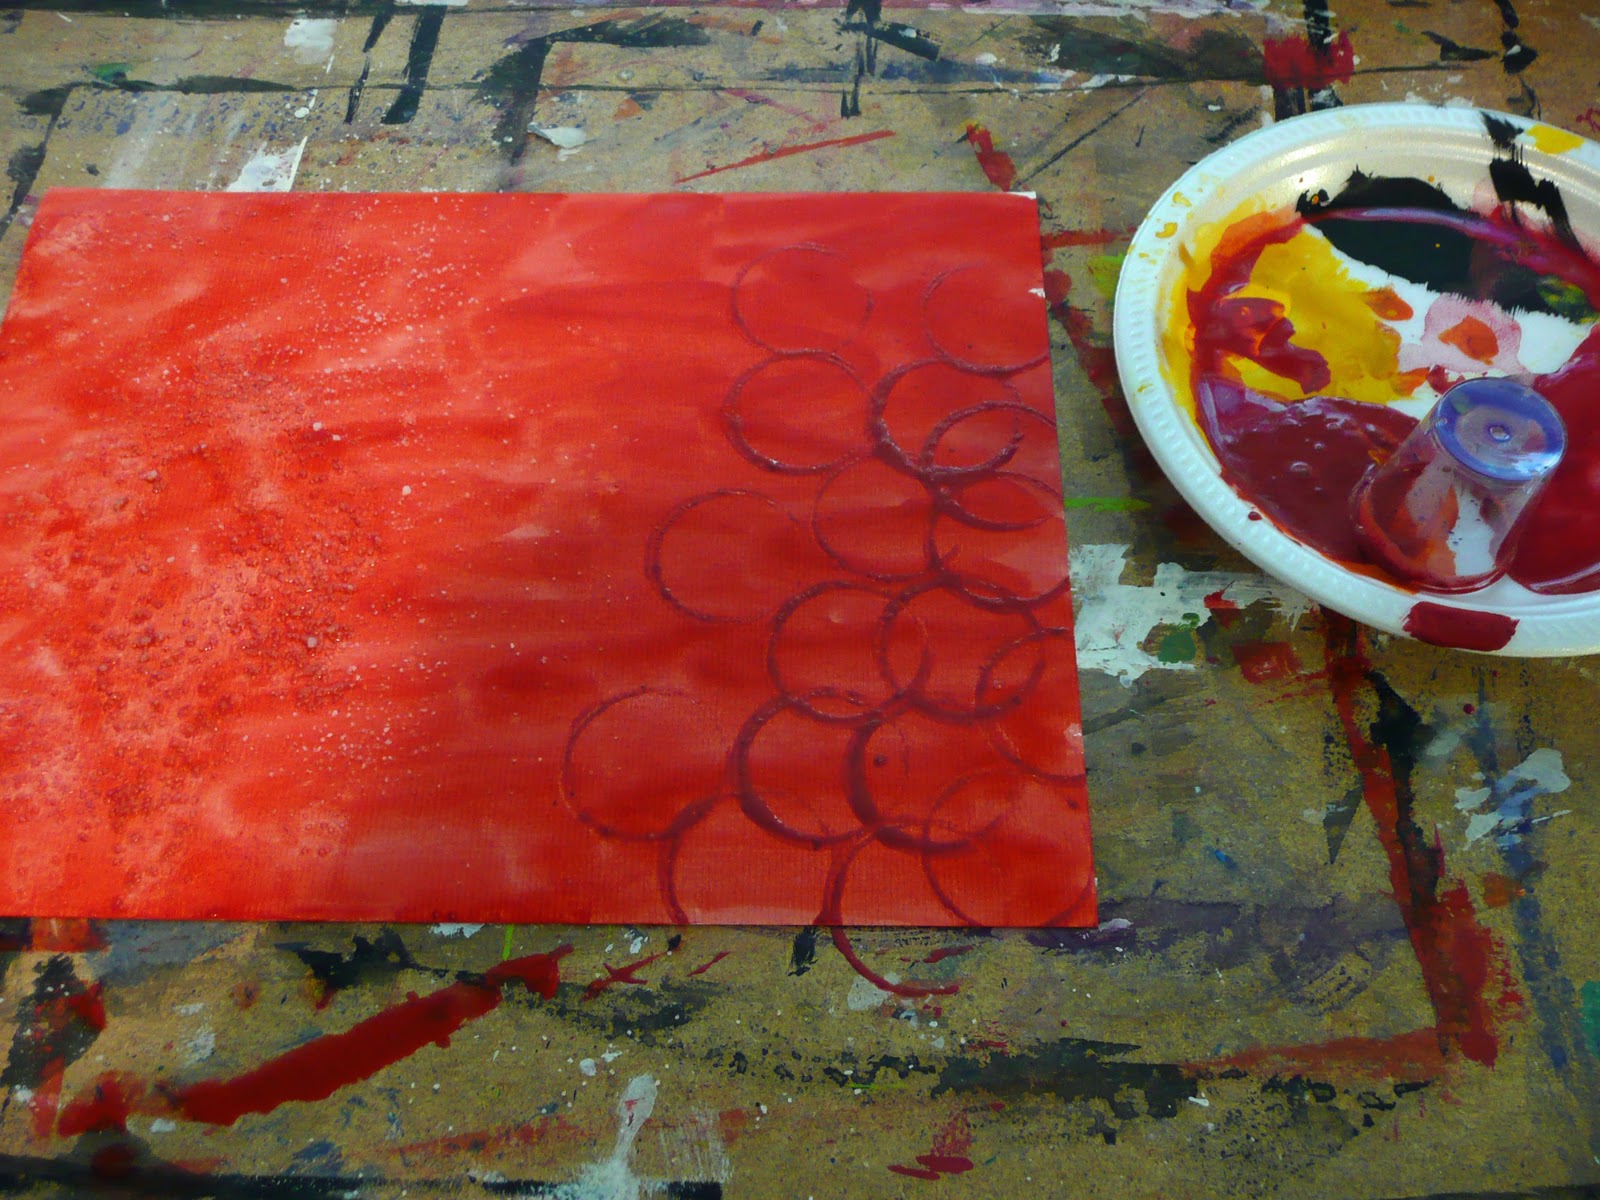
In this one I painted the paper a background red, left it to dry and then came in with a different color red and stamped in circles using a small plastic cup.

Make some green painted and textured paper at the same time.
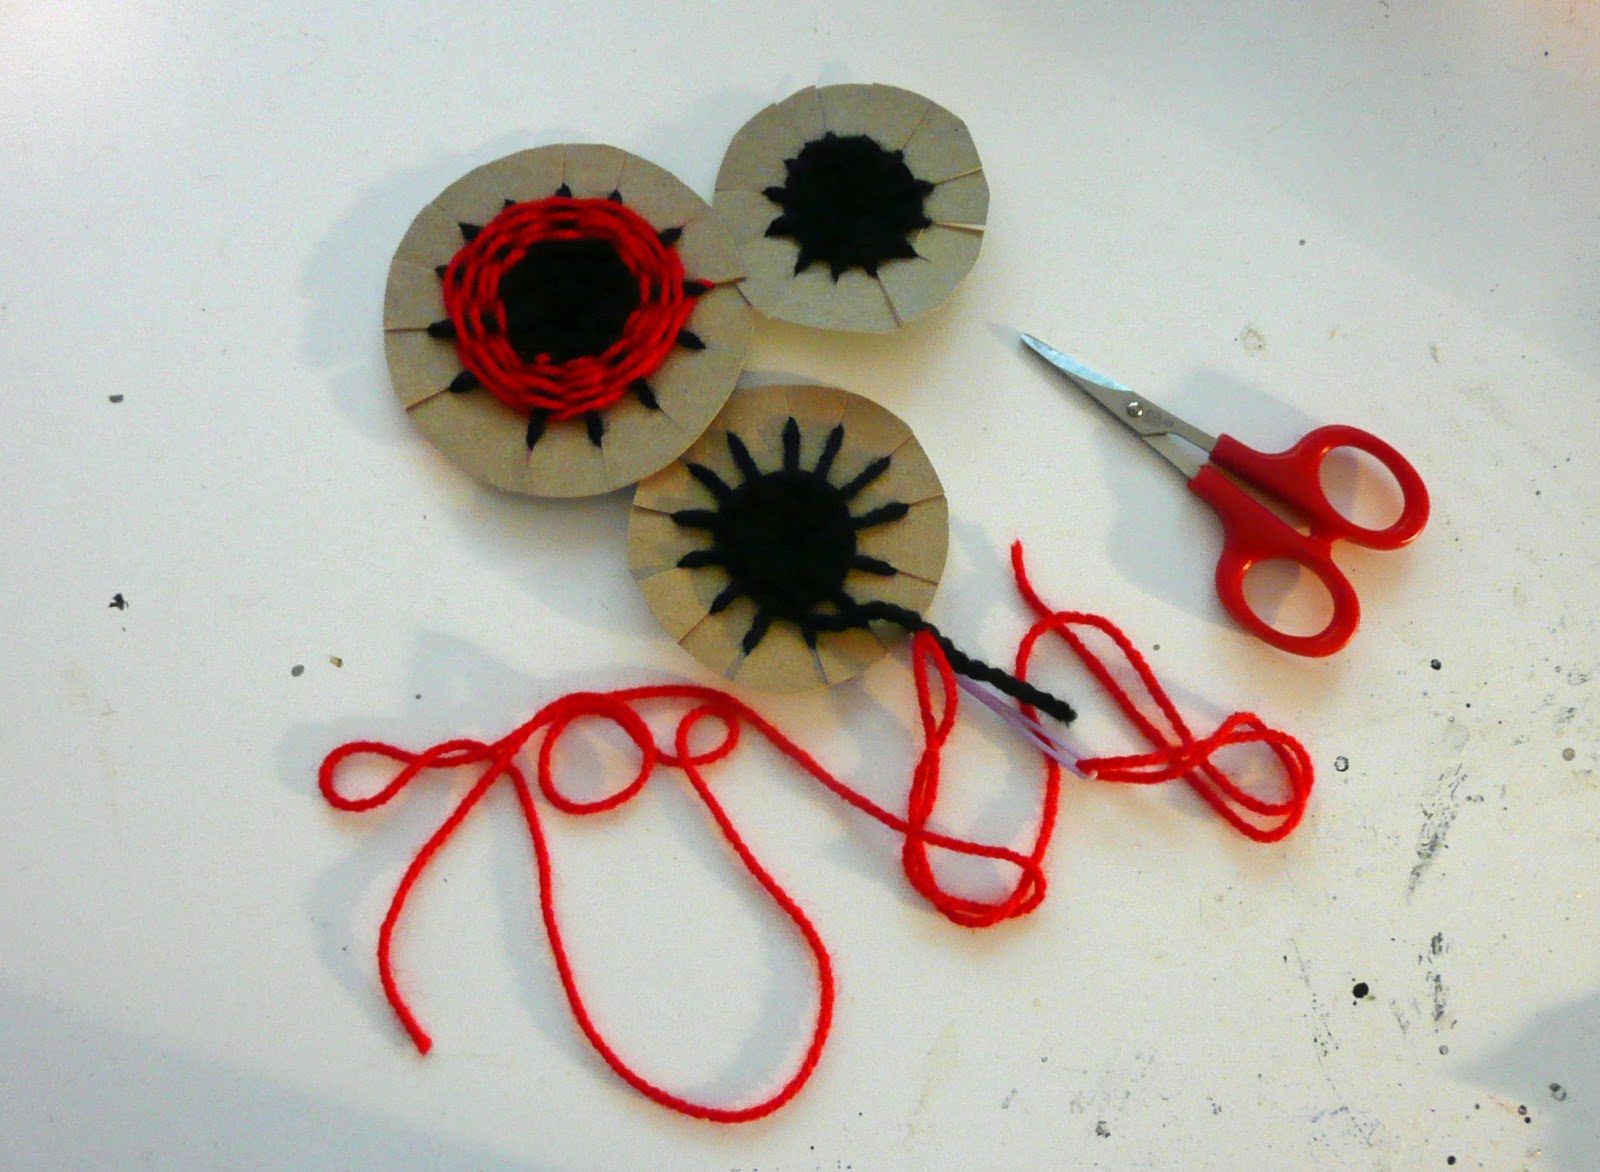
You could also weave some poppies using the technique described in my "woven eye" post.
Paint around the weaving to finish them off.


When your poppy papers and background is dry start putting your picture together.


Cut out some stems from the green paper.  Don't forget to add a pod or two.


Cut a large circle from some of the poppy paper.  Don't worry about it being perfect...in fact for this project they look better if they are a bit off.

Add a second smaller circle and then use a black button for the center.  Glue into place.


Add some detailing with sharpie and crayon to add that extra bit of emphasis.

I also made little lines to represent the fuzziness on the stem and pod.


That's it.  We'll see you next time.


Here are the Poppies Grade 2 completed.

Great work students!


Woven Person Mixed Media

Here is a woven person project that I've been working on.

The weaving is not that difficult so I could easily do this with Grade 2 and up (even grade 1 with a little extra help).


It has added text so it is a good thematic art project that encompasses weaving (art), language arts, and computers.


You need a piece of cardboard to make your loom.

I cut 9 notches in mine at the top and the bottom.  You can make it bigger if you want.


Now you need to wrap the warp (say that 10 times fast). Knot the first one and then wrap the string into each notch around the back and back to the front until all notches have string. Knot off the last one.


Now start weaving.  The first 9 weft strings will also form the arms so cut 9 pieces about 24 inches long and weave them in one by one leaving the same amount of extra yarn on both sides.


Don't forget to alternate "over, under".


Move your cardboard sideways and divide the yarn ends into 3 groups of 3.

Braid a loose arm. You want it a little bit longer than 1/2 the length of the cardboard loom when it is in the upright position.

Repeat on the other arm.


It should look something like this.


Now knot on your yarn and continue weaving the sweater of your person.  When you come to the end of one side just continue back again alternating "over,under".
You can use a fork to help you push the weft up to keep it tight. When you get to the waist you can also pull it in tighter to get the shape of a person.


When you get to the waist change colors by knotting the 2 ends together and start to weave the pants.  After a couple of inches separate and weave a single leg.

Please note if you have an odd number of warp strings just group 2 together and treat it as one.


Knot off the leg at the end and then go back and do the other leg.  You can flare the pants out a bit at the bottom by adjusting how tight you weave.


It should look like this.


Cut the warp strings in thru the middle of the back and then tie off 2 at a time.  For a clean look you can pull the ends thru the weaving on the back side a bit and then trim ends.


Now you have to decide what to do with your person.  I wanted to mount it in a picture so I made heads out of heavy watercolor paper.  If you wanted to leave it as a pure textile you could make a head out of fabric.


Here I'm painting the faces.


Paint a background.


When I cut the heads out I left a long neck which I glued to the woven body, I then glued it into place on the background.

I added some shoes out of felt.


I wanted to add some text to it to make it an art project with extra layers to it.

I printed out on the computer all the words for yarn and string I could think of and copied it down the page.

I printed this off and painted it with some light watercolor.

I cut the words SWEATER from it but you can do whatever concept suits for your class.


I also added a little text line to pull viewers thru the picture.  You could have students write a Fall poem or a poem about wind, having to wear sweaters, etc.

That's it.

I hope everyone had a great Thanksgiving.  I am taking a few days off  to present at an Early Childhood Education conference in Saskatoon.

I won't be back with a post till next week.

See you then.

Owl Projects Take 2


Here is a mixed media Owl project.  I can't even show you the finished project in it's entirety.....I need a large scale scanner...(I'll put that on my Christmas list)!


So this project is based on the Great Ga'Hoole tree.


Take some heavy sketch paper or watercolor paper and sketch out a tree.  We did ours to the side so we could get more owls in...


Paint in your night sky with some blue and black tempera mixed together.

As your sky goes down towards the horizon use lighter colors and more water.


While the sky is still wet you may want to lift out a moon.  I'm using a toonie but you can use any circular shape as long as it's flat on the bottom...at school I often use the stacking cups.


Wrap in a kleenex....


Push down into the wet paint where you want it....


and lift off.....a perfect full moon shape.


If you want clouds around your moon use a paintbrush dipped in water and then make a few lines thru the moon pulling some of the paint thru.

Click on picture to see larger.


Continue painting in your sky and your Island of Hoole.

Leave to dry.


Take a variety of papers.  We used old book pages, corrugated cardboard, brown kraft paper and brown tissue paper.

  Apply some white glue (use a paintbrush as you don't need gobs of it) where your tree is and randomly attach papers into the shape.

As you are laying down the lighter papers you can squish them a bit to form the wrinkles and texture of the trunk.


You can sponge on some grass and bushes onto the island.  You can also add a bit of color to the tree trunk...we used watered down dark brown and black.


We decided to stamp on our Owls so I cut out some Owl shapes out of craft foam.


I then duct taped these to a narrow strip of cardboard bent up at the bottom....you could also use scratch foam or potato.


Stamp in your shapes...we used black acrylic but you could use liquid tempera just as well.


I couldn't resist and added a few little owls flying to the tree with a Sharpie.


Using the end of a pencil, skewer, or even a paintbrush stamp in some yellow eyes.  I combined some yellow with "Glow in the Dark" paint...we'll see if it works.  I find the Glow in the Dark stuff a bit translucent.

Let dry and then add a black pupil.

That's it.


Remember these guys...you can find my PomPom Owl tutorial here.


and I still love these Macrame ones I did with Grade 4..check out this post for all the directions.


We'll see you next week!