Tattoo
Showing posts with label painting. Show all posts

Paper Tapas from the South Pacific


Tapa cloth or bark cloth is a traditional  textile from the islands in the South Pacific.  You can see some examples of tapa cloth here.


In the school setting we try to duplicate this process using paper.  This lesson was adapted from my favorite book "Art from Many Hands" by Jo Miles Schuman.

The word Tapa is Samoan or Tahitian depending on what resource you consult and describes the border of the cloth. Tapa cloth is made from harvesting breadfruit or paper mulberry trees.  The inner bark of the tree would be beaten to release the fiber much like flax is beaten to produce linen.  This fiber would then be flattened or "felted" if you will into sheets.  The resulting cloth was used for clothing, bedding, and household items.  Special cloth was made for religious occasions as well as for royalty.  It was quite fragile so it was made quite frequently.

Before we can make our Tapa cloth we need to make some design tablets.  Nice thing about these is once you make a set you can use them over and over again.

I used pieces of foam core board as I had some in my stash but you can easily do this on corrugated cardboard from the recycle bin.

Now traditional designs are based in nature including flowers, trees, fish, animals and birds as well as the sun and the moon.  In Tongo these design tablets were made on large leaves upon which thin strips of palm or coconut twine were sewn forming the design.  Here we make ours with regular household string.  Pencil in your design and then using tacky glue, glue pieces of string into place.


You also want to make these texture boards which just have lines of string.

Easiest way to make these is to smear some glue over the board and then wind your string around the board.


Now to simulate the bark cloth we are using brown paper bags or kraft paper.

You want to take your paper and crumple it over and over quite a few times.

You then can iron it out flat.

If you want it colored like the yellow cloth in the picture above, paint it with some tempera after you have ironed it flat.


Most Tapa cloth is based on a grid design.  Using a ruler make out this grid on your cloth.


Now you want to place a design board under your cloth and using crayon in either red, brown, or orange rub to bring up the image.


Now use the striped string board and in a different color of crayon rub this design around the image you have already brought up.

Don't rub the stripes on top of the design just around it.


 You now want to add some touches with some black tempera.


You can use the end of your paint brush for dots.


You can use a piece of cardboard to stamp in a striped design.


Finally you want to paint your border black.


and that's it.  You could spread this project over 2 sessions.  The first to create your design blocks and then a second to rub the designs and paint the cloth.


Fascinating project and there are lots of resources on the web in google images.  Give it a try.


We'll see you next time.

Poppy Mixed Media

Well this is the Remembrance Day project I have come up with for this year "Mixed Media Poppies". 
Tape off your watercolor or white sketch paper for that nice finished edge and then paint in your background color with disc tempera. 
While the paint is still wet cover with a layer of plastic wrap and smoosh it slightly.  Leave in place until dry. 
While your background is drying work on your poppy papers.  You want a few types.  In this one I'm using thicker liquid tempera and patting it in with the brush leaving some nice textured brush marks.
For this one I'm using the liquid tempera like glue and squishing some red tissue paper into the wet paint.  Cover with a top coat of paint as well.  It is similar to the technique I used in this post.
In this one I'm covering the paper with paint and then placing bubble wrap on top while wet.  Leave on til dry.
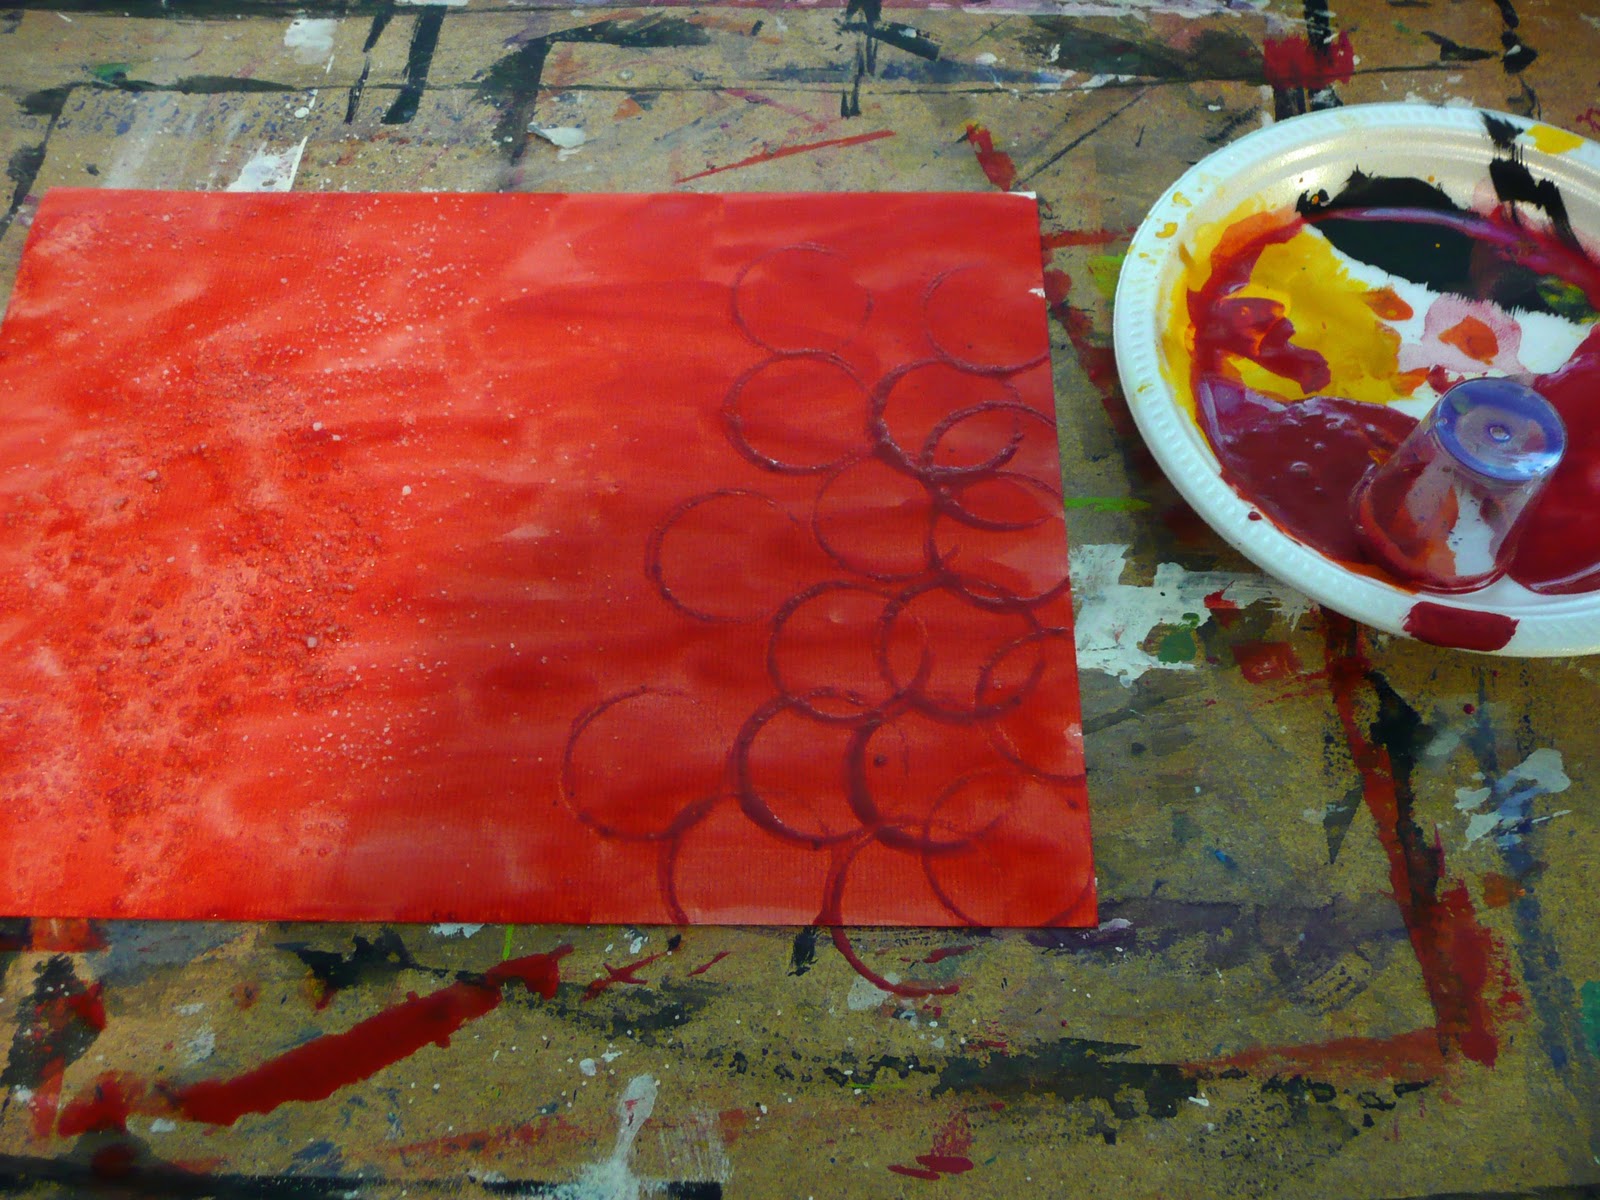
In this one I painted the paper a background red, left it to dry and then came in with a different color red and stamped in circles using a small plastic cup.

Make some green painted and textured paper at the same time.
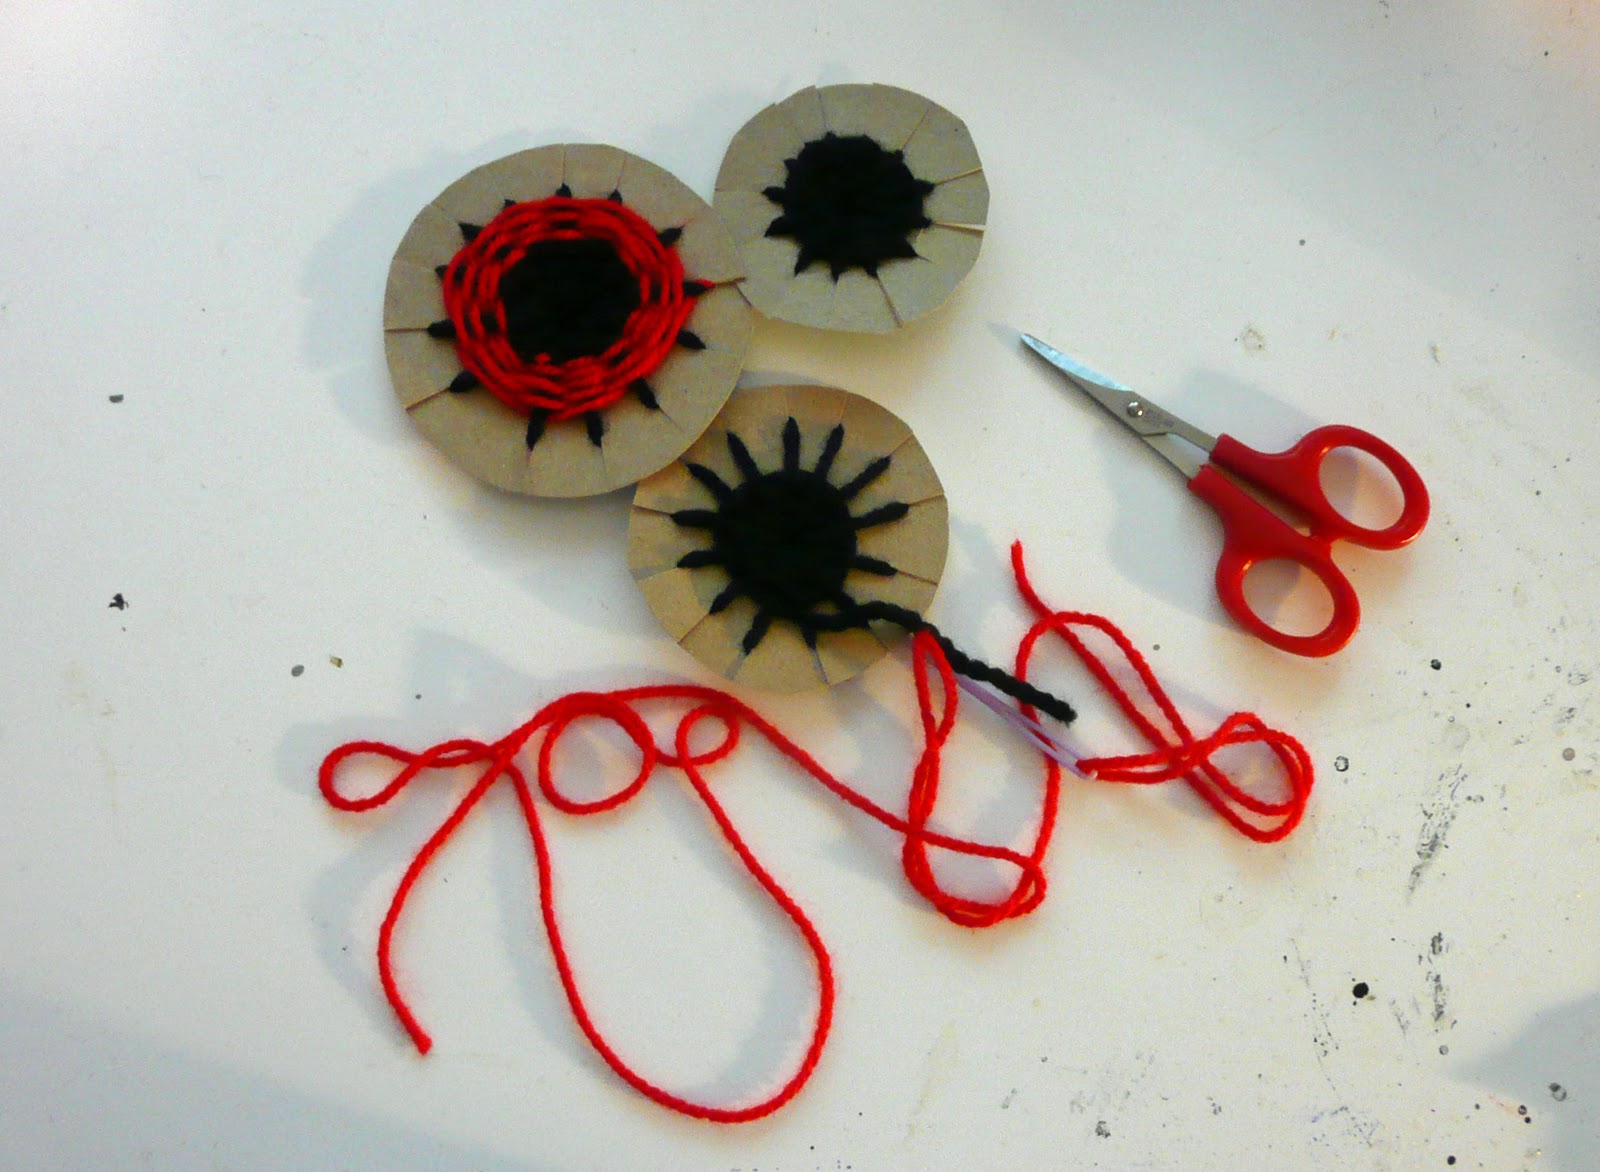
You could also weave some poppies using the technique described in my "woven eye" post.
Paint around the weaving to finish them off.


When your poppy papers and background is dry start putting your picture together.


Cut out some stems from the green paper.  Don't forget to add a pod or two.


Cut a large circle from some of the poppy paper.  Don't worry about it being perfect...in fact for this project they look better if they are a bit off.

Add a second smaller circle and then use a black button for the center.  Glue into place.


Add some detailing with sharpie and crayon to add that extra bit of emphasis.

I also made little lines to represent the fuzziness on the stem and pod.


That's it.  We'll see you next time.


Here are the Poppies Grade 2 completed.

Great work students!


Painting on Canada Day


Well "Happy Canada Day".....we left Calgary yesterday and headed straight to the cabin in British Columbia.

Beautiful weather and finally some time to relax.

I have recently been asked to put some paintings in a show/sale....so I thought I would paint today to get back into the swing of things.


There is a church near the cabin that is called "The Stolen Church". It was taken from its original location at a place called First Crossing and brought to the Windermere Valley by the husband of one of its new residents who missed her former church. (this all happened in 1887).He evidently took it apart piece by piece and transported it by wagon and barge.


Here is my version.
see you next time
gail

Folk Art Houses for the Garden


I always have these grand plans of all these things I want to paint for my garden thru the winter so I'll be ready when the weather cooperates......but they never seem to get done.

So now I am in a rush to get them completed before fall.


We have had such a cold spring but the garden is starting to come together.

We have two squirrels that hang out in our backyard and for the most part don't cause any trouble......until now!


They have been zipping up and down the railing on the deck and have knocked over all my painted birdhouses.

Now granted these birdhouses are not the most sturdy...its hard to get nice solid unfinished ones.....I had filled them with rocks to hold up in our unrelenting wind...but they couldn't withstand the squirrel dancing.


So.......one of my unfinished winter projects was some heavy cedar houses that could withstand both wind and squirrel......no time like the present to get these done.

I purchased a heavy cedar fence post 5"x5". It was 8 feet long and cost me about $20.00. (not bad when you consider I can get about 12 or so houses out of it)

I had my husband cut it into houses of varying heights and roof lines.


I then started to paint. I use Folk Art acrylic paint for these. Out of all the craft paints Folk Art wins hands down.....great coverage and their Artist's Pigment series is great for projects like this.


Here are some others I need to finish.


I added a tree in the back.....


maybe a nice flowering tree.


Some nice details in the front......OK once I get started it just goes on.....

When finished add a couple coats of outdoor sealer in a gloss....I like Duraclear.


Now the squirrels can knock them down but they will stay in one piece...fingers crossed!

Give it a try and let your kids have a go....some great folk art for your garden.


Here is a sneak peek at a new tutorial....I make these mini gardens for my kid's teachers every year...they have become my signature gift at the school....I have 3 to make this year.
This time I remembered to take step by step photos so you can make one too. Stay tuned.


See you next time.
gail