Tattoo
Showing posts with label clay. Show all posts

Clay Wall Pockets

Here is a clay project Grade 5 completed in time to be wrapped and placed under the Christmas tree.

The kids decided on a theme of Totem Poles in keeping with their First Nations Social Studies unit.


I brought in a lot of reference material for the kids to look through before starting on their projects.

We discussed basic forms and shapes and what they might want to add to their Totem Poles to personalize them.


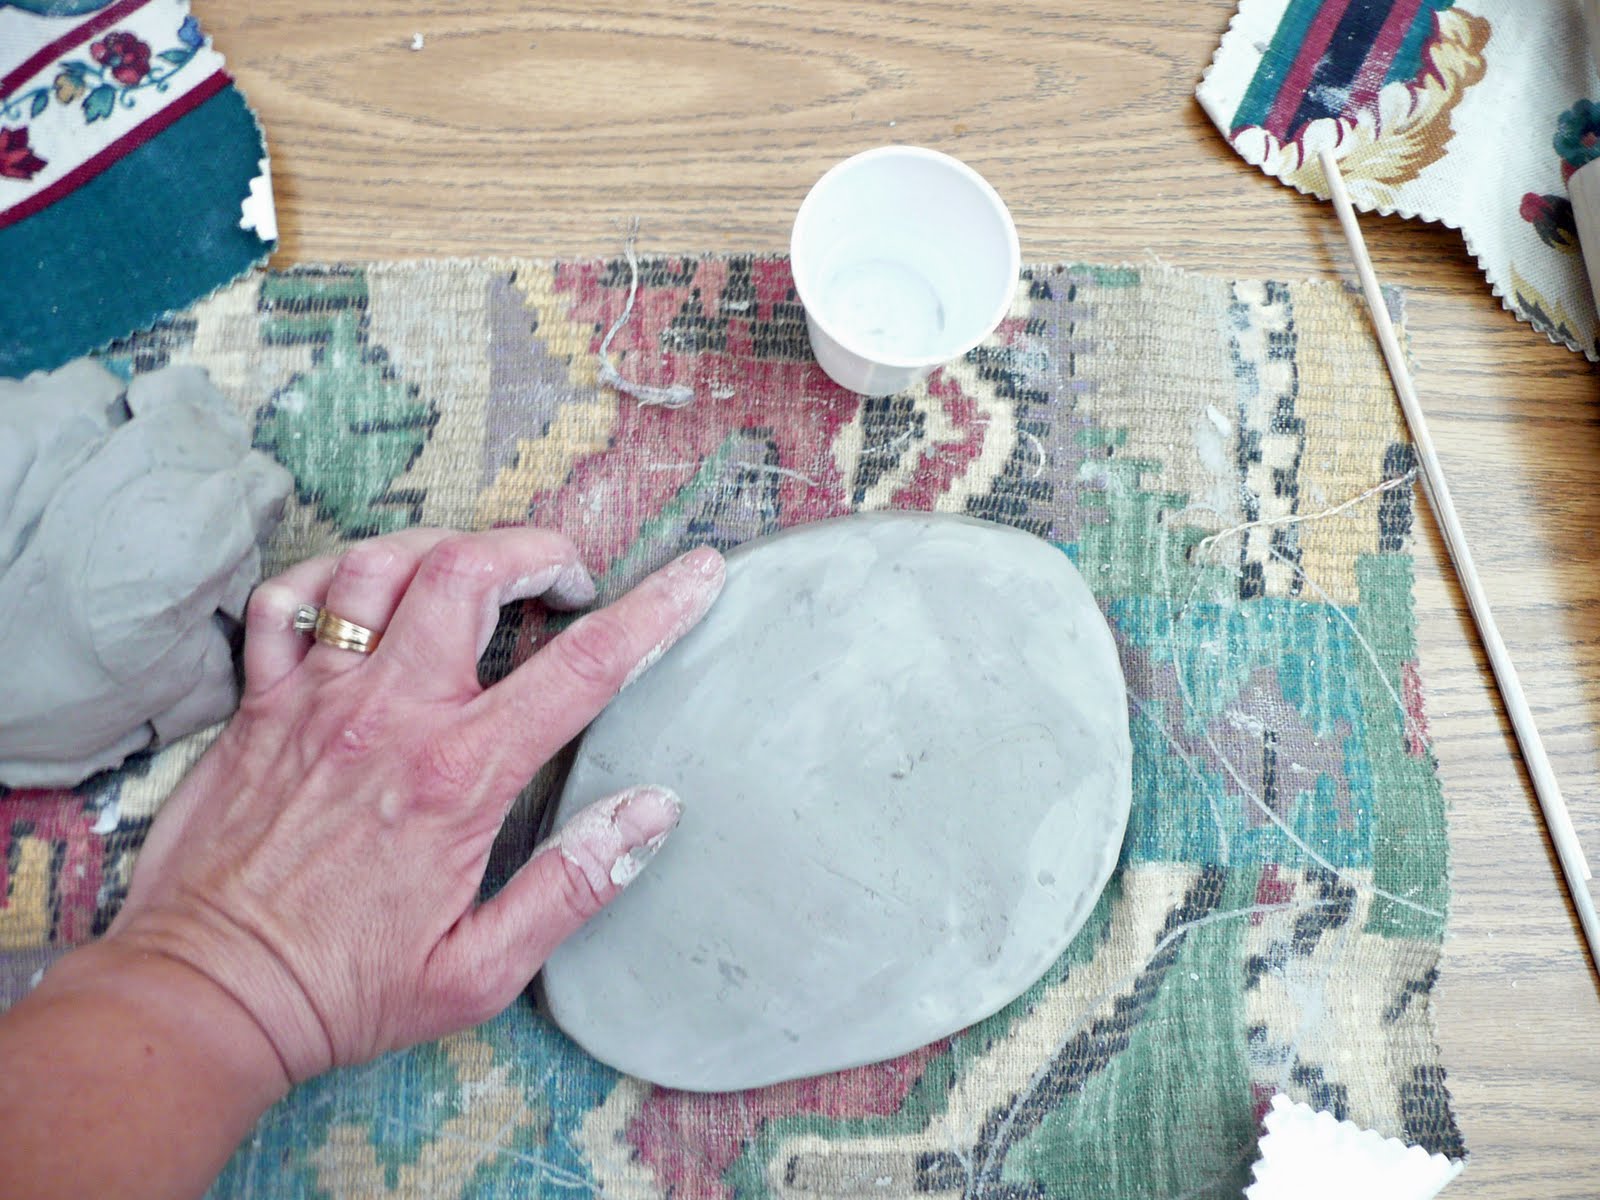
Roll out a slab of clay to approximately 1/2 an inch thick.

As you can see I have the kids work on pieces of fabric or canvas.  This stops the clay from sticking to their desks.  Fabric placemats also work great.


From the slab you want to cut a shape like this, I told the kids it's kinda like a shoe or sneaker shape, we used penny nails to cut our shape with but you can also use a wooden skewer or plastic knife.

Score the edge all around except the top of the longer edge, rub with some water.


Fold over and smoosh the edge together.  Add some crunched up newspaper into the pocket to help hold the shape while drying.

Make sure you can easily remove the newspaper without disturbing the pocket.


Trim off any excess and make sure to add a hole at the top for hanging.

You can use a nail, wooden skewer, or a plastic knife to help cut the clay.


With scraps of clay cut out shapes and add to the front to form your totem pole.  Make sure to score and rub water on the two surfaces you want to stick together.


When finished set the clay aside to dry out undisturbed for about 2 weeks.

Remove newspaper and bisque fire at cone 04 in the kiln.


Glaze with at least 3 coats. We used Mayco Stroke and Coat which I finally got to work for me....in past projects I had been adding a clear topcoat to the projects which caused hardly any pigment to show...this time I only added the clear to any unglazed areas and it turned out perfectly.


After your glazes have dried cone fire 06 in the kiln and enjoy.


Great work Grade 5!!

Clay Witches and Wizards


Grade 4 completed these clay witches and wizards for Halloween today.


I think they did an awesome job and they were quite pleased with themselves.


You start by rolling out a slab of clay and then roll it into an ice cream cone shape.  Trim off the excess and make sure to score and moisten the pieces that you are "gluing" together.

We then placed a 1/2 sheet of scrunched up newspaper into the hollow part of the cone so that our witches and wizards held their shape while we worked on them.  I kept the paper in place for a week while they were drying.


The kids then pinched out a face, scored in a division line between the face and hat, and added hair.

The also attached two arms by rolling out a rope shape and wrapping it around the back.

We had our hands cupped in front to hold the marble at the end.


I let them dry out for 2 weeks and then bisque fired them (cone 4).  We opted to glaze ours but you could paint with acrylics instead if you wished.

They were then glaze fired (cone 6) and I glued a marble in place with the hot glue gun.


That's it.  I'm so glad we timed it right for Halloween and we had another successful project with no casualties in the kiln...... woohoo!!!


See you next time.

Clay Trays for Father's Day


I thought I would show you the clay project Grade 5 and 6 have completed for Father's Day. These trays are to hold every Dad's assortment of coins, keys, phones, etc.


Now I know it's too late for you to do this for this Father's Day but it's something you can keep in mind for next year or you can do a variation of this project anytime.


We completed this project as a class.  Sometimes I set up clay out on tables in our large pod hallways but for this one we did it in the classroom.

I give each student a piece of heavy cotton material to work on.  As well they each get a small cup of water and a wooden skewer as well as tools for imprinting.
For this project they were asked to come up with their own unique design. 


After each tray was completed I set them out of the way on a drying shelf.  I let the trays dry out for a good 2 weeks.   This is always the hard part with clay...planning ahead for sufficient drying time.


I then bisque fire them (cone 4) in the kiln.   In preparation for glazing I brush on a wax emulsion on the bottom of each piece.  This stops the glaze for dripping onto the bottom and eliminates me having to stilt each piece.   You can also use wax emulsion to create interesting resist patterns when glazing.


Before the students start glazing I set out paper towels to work on.  The glazes are placed into paint trays that I use only for glazing with the color written beside....the color you see in the liquid glaze is not always the color you end up with.   I also set out a selection of brushes and water to clean them with.

I then let the students glaze asking them to do 2 - 3 heavy coats.

Depending on how much time I have I may also add a coat of clear glaze after each piece has dried.

I then fire it at a cone 6.  I have another set in the kiln tonight with glazing set for tomorrow...another fire tomorrow night and we'll have made it in time for Father's Day! Whew!

How to Make a Clay Polar Bear


This is a clay Polar Bear project I just completed with Grade 3.


Take a slice of clay and roll to about 1/2 inch thick.

Cut a nice oval base with a wooden skewer.


Using your finger dipped in water smooth the jagged edge left from cutting.

I explain to the students that if we leave this edge that once this piece is fired this could be very sharp and might cut someone.


Take some clay and form 2 back legs and 2 smaller front legs.


Using the "scratch, scratch, water, water" chant we attach these legs to the base.

We want to be sure the 2 surfaces that are touching have been sufficiently scored and moistened so that our clay will "glue" together.


Taking a fair lump of clay (palm sized) form a pear or gourd shape for the body.

Place it on the 4 legs and continue refining until you are happy with the shape.  Attach to the 4 legs with the "scratch, scratch, water,water".


Continue to define the shape and pinch out some ears.  You want a pointy nose.

I had reference photos for the kids to look at while sculpting.


Using a toothpick we added our names and the year to the base.


Leave bears to dry out for about 2 weeks.

After completing a bisque fire in the kiln, glaze using white and blue underglaze with a clear topcoat.

and that's it!  The grade 3's did an awesome job.
See you next time.

Bead and Clay Crosses


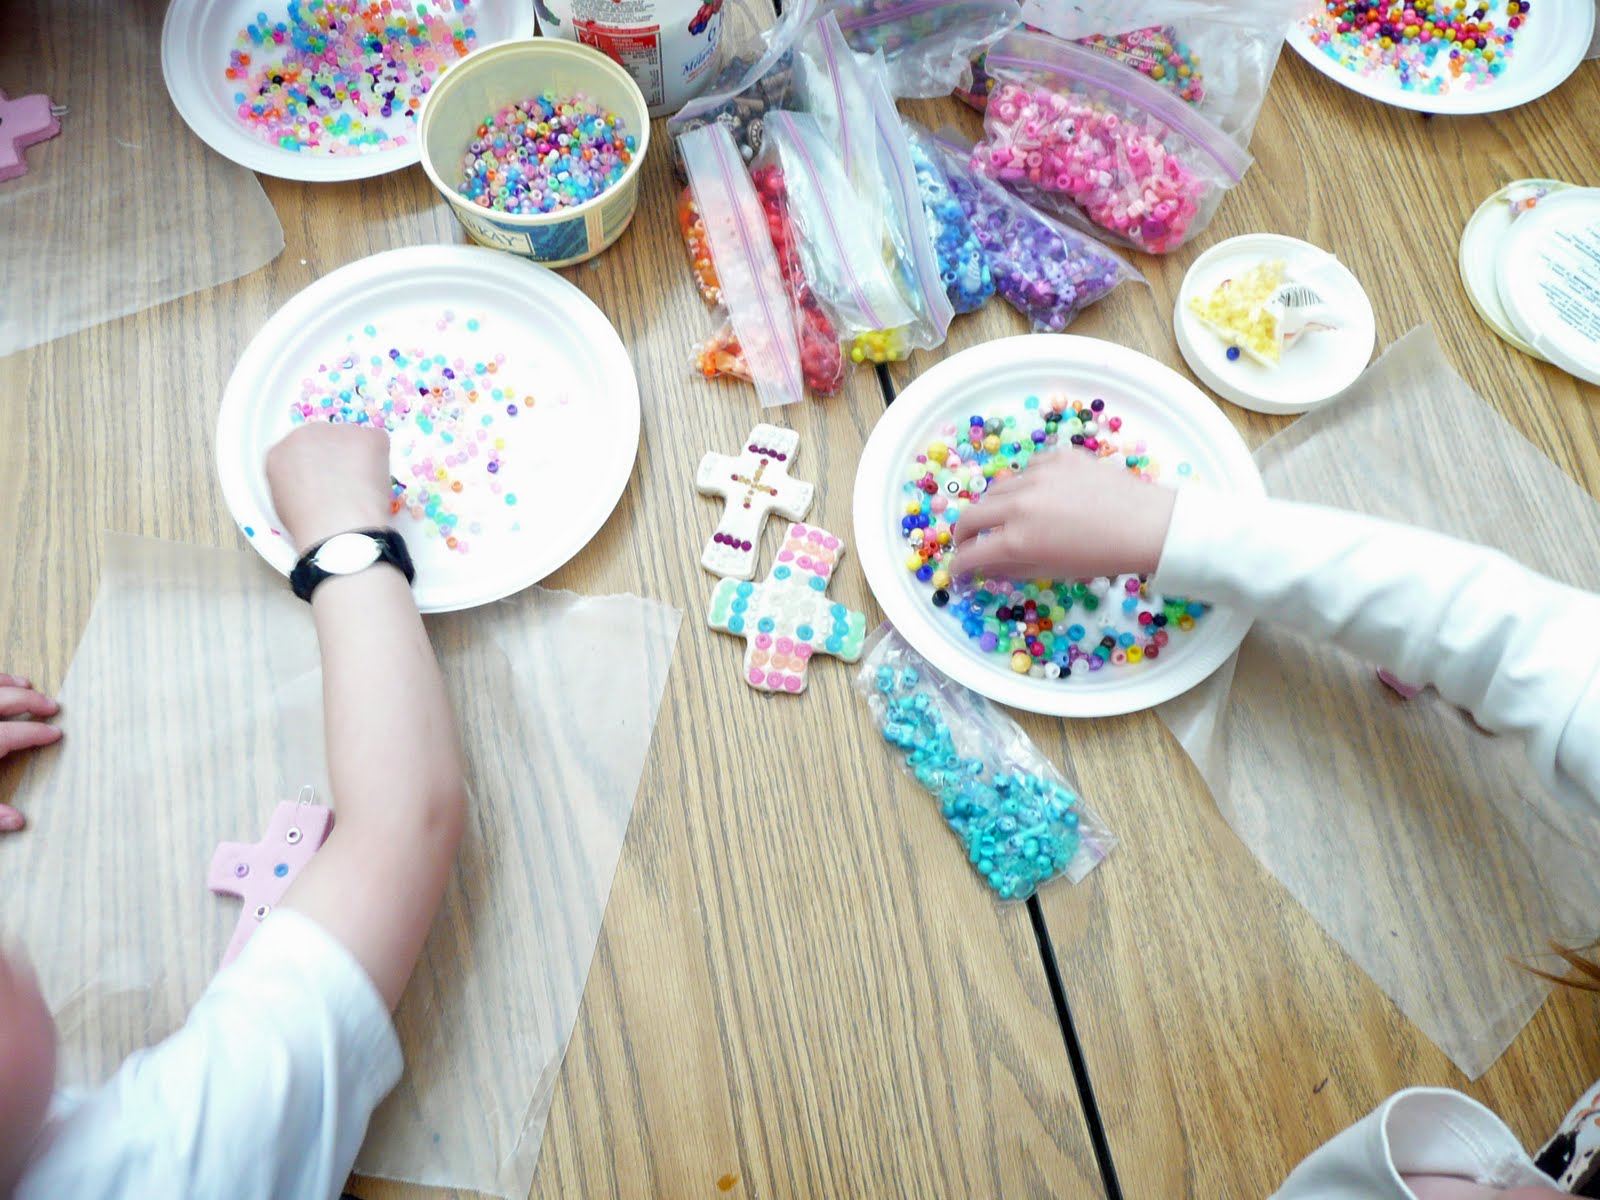
This is a project I do at Easter time with the students.  These are done by Grade 1. I also did this with Grade 4 this year using smaller beads and more complicated patterns.


Click on picture to see larger.


You need to do up a recipe of salt dough clay. ( 1 recipe is enough for 24 crosses using a 3 1/2 inch cutter)

4 cups flour
1 cup salt
2- 2 and 1/2 cups warm water

Knead into a soft dough
Store in a ziploc bag.  If not using right away you can store in the refrigerator for like forever. Just pull it out ahead of time to come to room tempertaure before using.


I like to color the dough.  Using liquid tempera or acrylic paint squirt some on the dough.


Fold over the dough.


and then knead like crazy....don't worry if it looks marbled like this it just means you have to keep kneading.


It will eventually look like this.  Even color throughout.


Roll it out and then using a cookie cutter cut out the shape.


Place a paper clip 1/2 way in at the top for hanging.

I get the kids to put a bit of water on the surface of the cross using their finger and then they can start forming their design with beads.  We use pony beads in different sizes as well as wood beads and large decorative beads.


I asked them to try and make a pattern using color or shape.


They need to push the beads in fairly firmly.


I then place them on a cookie sheet lined with parchment paper.  I write the name of the student on the paper in sharpie and then place their creation either on top or next to their name.  This allows me to keep them straight until they are baked when I can then write their names on the back in sharpie.

Bake in a 250 - 300 degree oven for about 2 - 3 hours until hard.  You don't want to overbake and have them get a brownish tinge.


When cool add a coat or 2 of Mod podge.  This will help "glue" into place any loose beads as well as add a nice shiny finish.

Keep in mind that salt dough responds to the humidity in the air.  It can sometimes feel soft even after baking and sealing.  Just let it be and it will dry out again. 


That's it.  I add a ribbon thru the paper clip at the top and the kids have a great creation to take home for Easter.


See you next time.